⚠️Warning: This article can be sensitive for designers or creative professionals.
Remember Pimp My Ride? Today I‘ll teach you how to pimp an NPS Survey for your website, like a boss.
Do you remember the TV show Pimp My Ride? Back in 2004, Xzibit, Mad Mike, and his crew would transform any car with outrageous customizations. From XXL speakers to blinding lights, we’ve seen things we never thought we would see inside a vehicle. Remember?
If you feel old, that was not my intention at all!
*Goes to old meme library*

What if I tell you that you can also fully customize an NPS survey using Helppier?
Today, inspired by Pimp My Ride, I want to teach you how you can transform a boring NPS into an eye-catching survey for your website. Like a boss!
Getting started with Net Promoter Score
Imagine your website or application is an old car. 🚗 Wouldn’t you want your customers to tell you where it needs improvements? Or why they’re considering to buy a new car?
Net Promoter Score can be a valuable asset for your business! Due to its intuitive 0–10 score system, it’s the quickest way to get feedback from users. Right when they’re taking your website or application for a test-drive.
If you are new to Net Promoter Score, in a previous article I mentioned how you can create an NPS survey. I also shared some examples of NPS survey questions you can use.
Now, let’s discover how you can actually pimp your NPS using Helppier. 😉
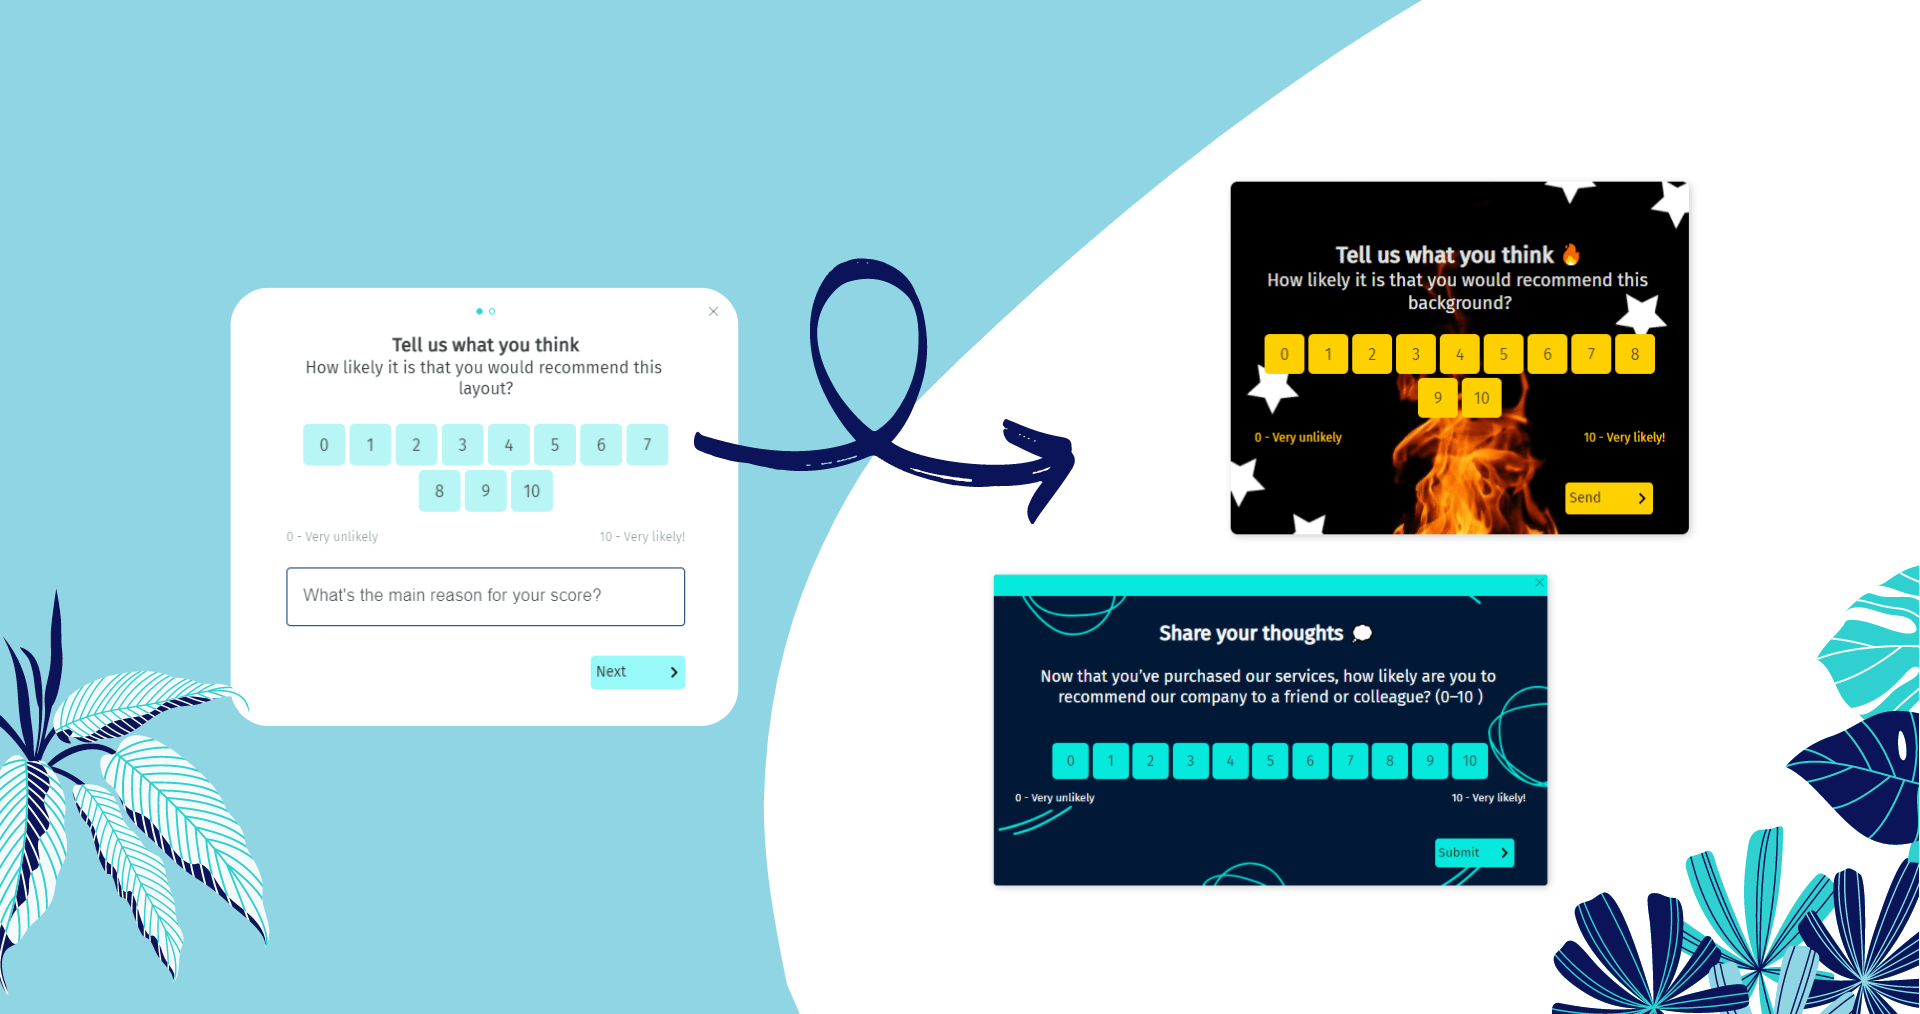
Cool NPS Survey templates you can pimp with Helppier
Some outrageous designs from Pimp My Ride
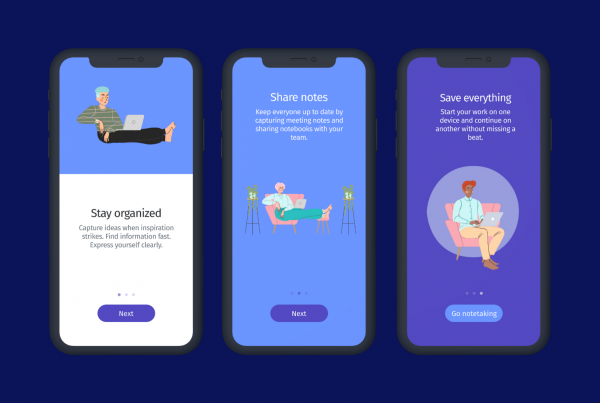
As you can see, with Helppier you have endless options. You can customize your NPS Surveys and even other in-app messages to engage users online. 😉
Here’s how to do it.
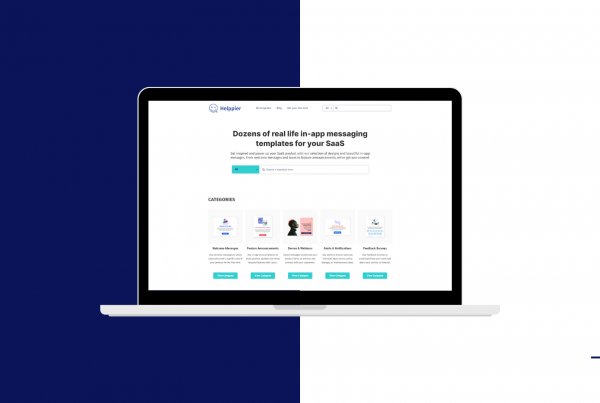
1 — First things first: Add Helppier to your website
To start using our NPS survey tool, let’s start by installing Helppier on your website or web app. It couldn’t be easier and you won’t even need a driver’s license:
👉 Register on our website;
👉 Log in and set up your website/app domain;
👉 Add our Chrome Extension or Snippet Code to your domain;
👉 Click on Helppier’s launcher.
2 — Select an NPS Survey template
After installing Helppier, it’s time to start the engine. 🚀
Click on the button “New” and then select the option “NPS Surveys”.
We provide two default NPS templates that you can use. You can select which one you want, using the Helppier sidebar.
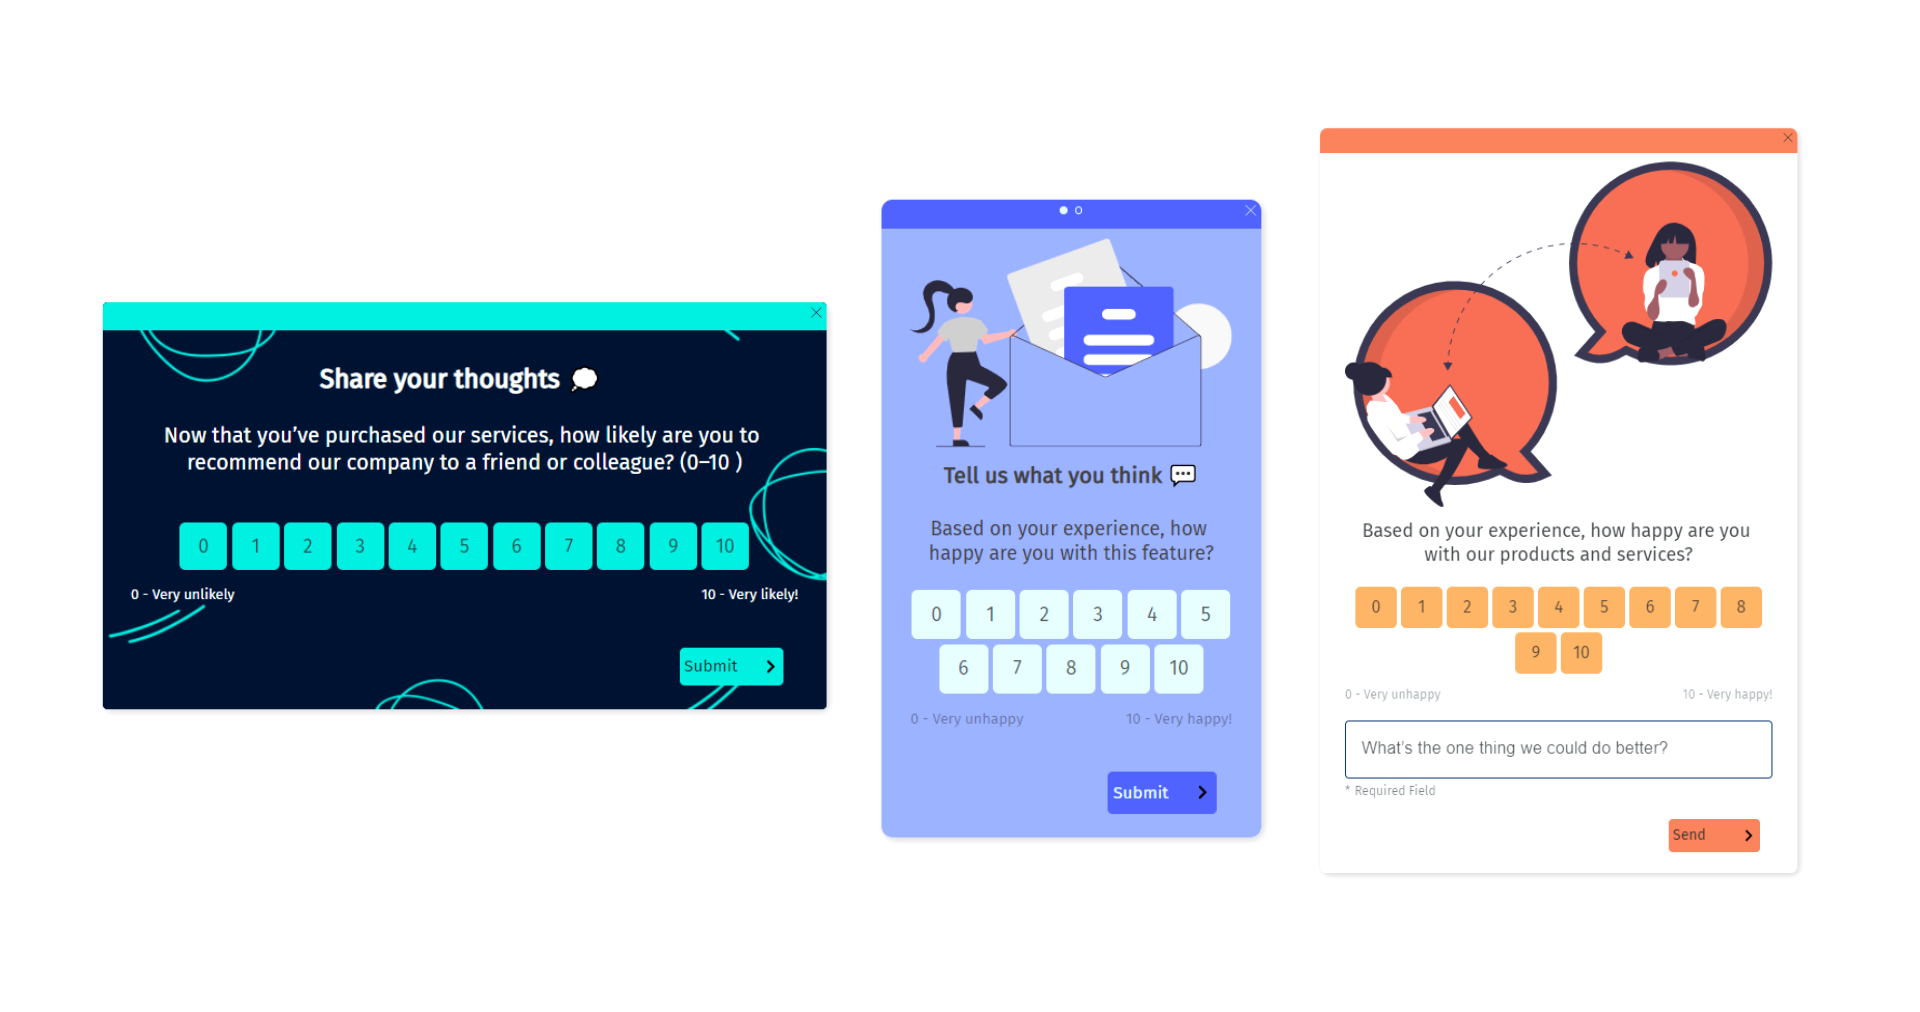
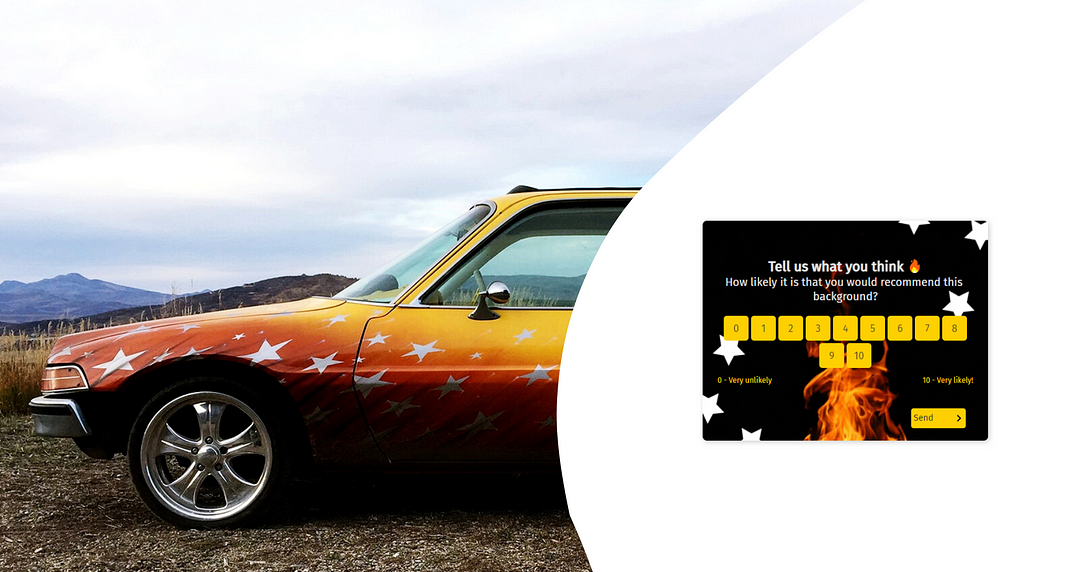
Template A: NPS with Image
With this NPS survey template, you can upload a beautiful image, illustration, icon, GIF, or logo.
Unlike in cars, graphic images make your survey look better and will help draw the user’s attention. In a positive way.
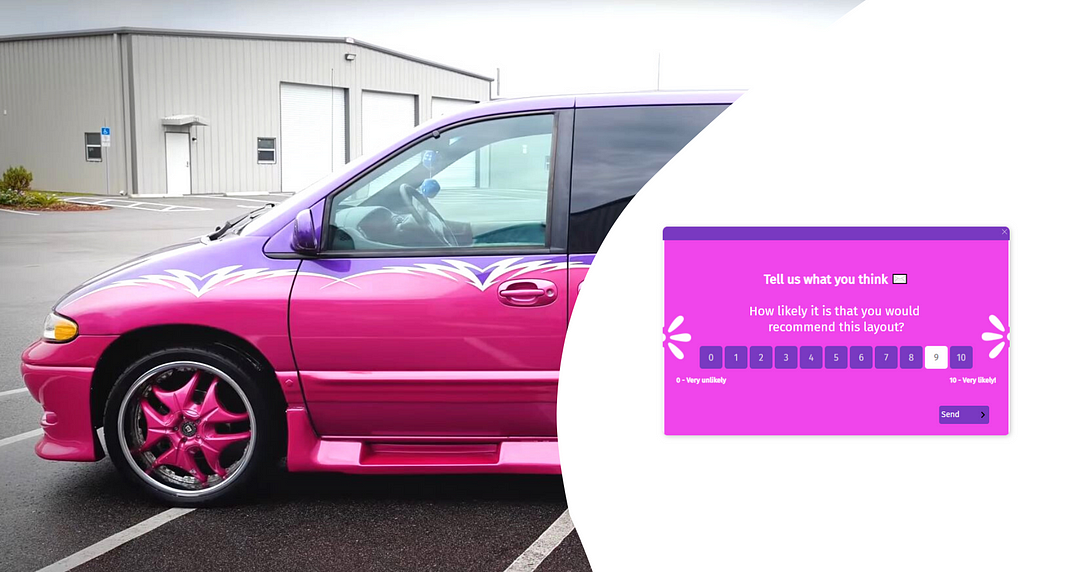
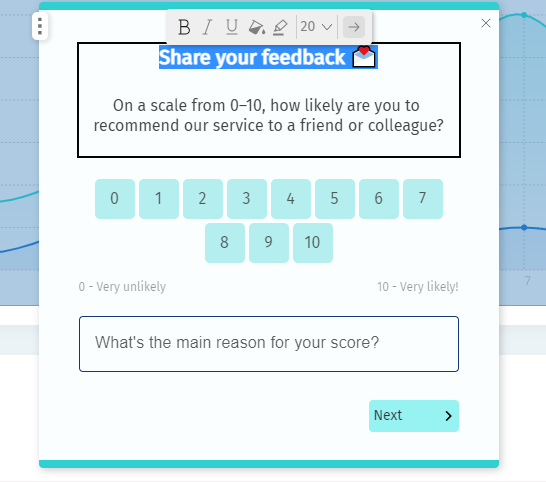
Template B: Simple NPS with text
By selecting this template, you go straight to the point with a title, NPS question, and a Feedback field. This field allows users to leave a comment about their score.
You can also enable this field in the previous template, using the sidebar. Keep in mind that it will make your NPS look larger.
If that’s what you want, go for it!
After selecting one of these you can customize the text by clicking on each block and type. Use the rich text options to increase the size and colors of the text.
Now let’s get into the fun part: pimping your NPS with colors.
3 — Customize your NPS appearance
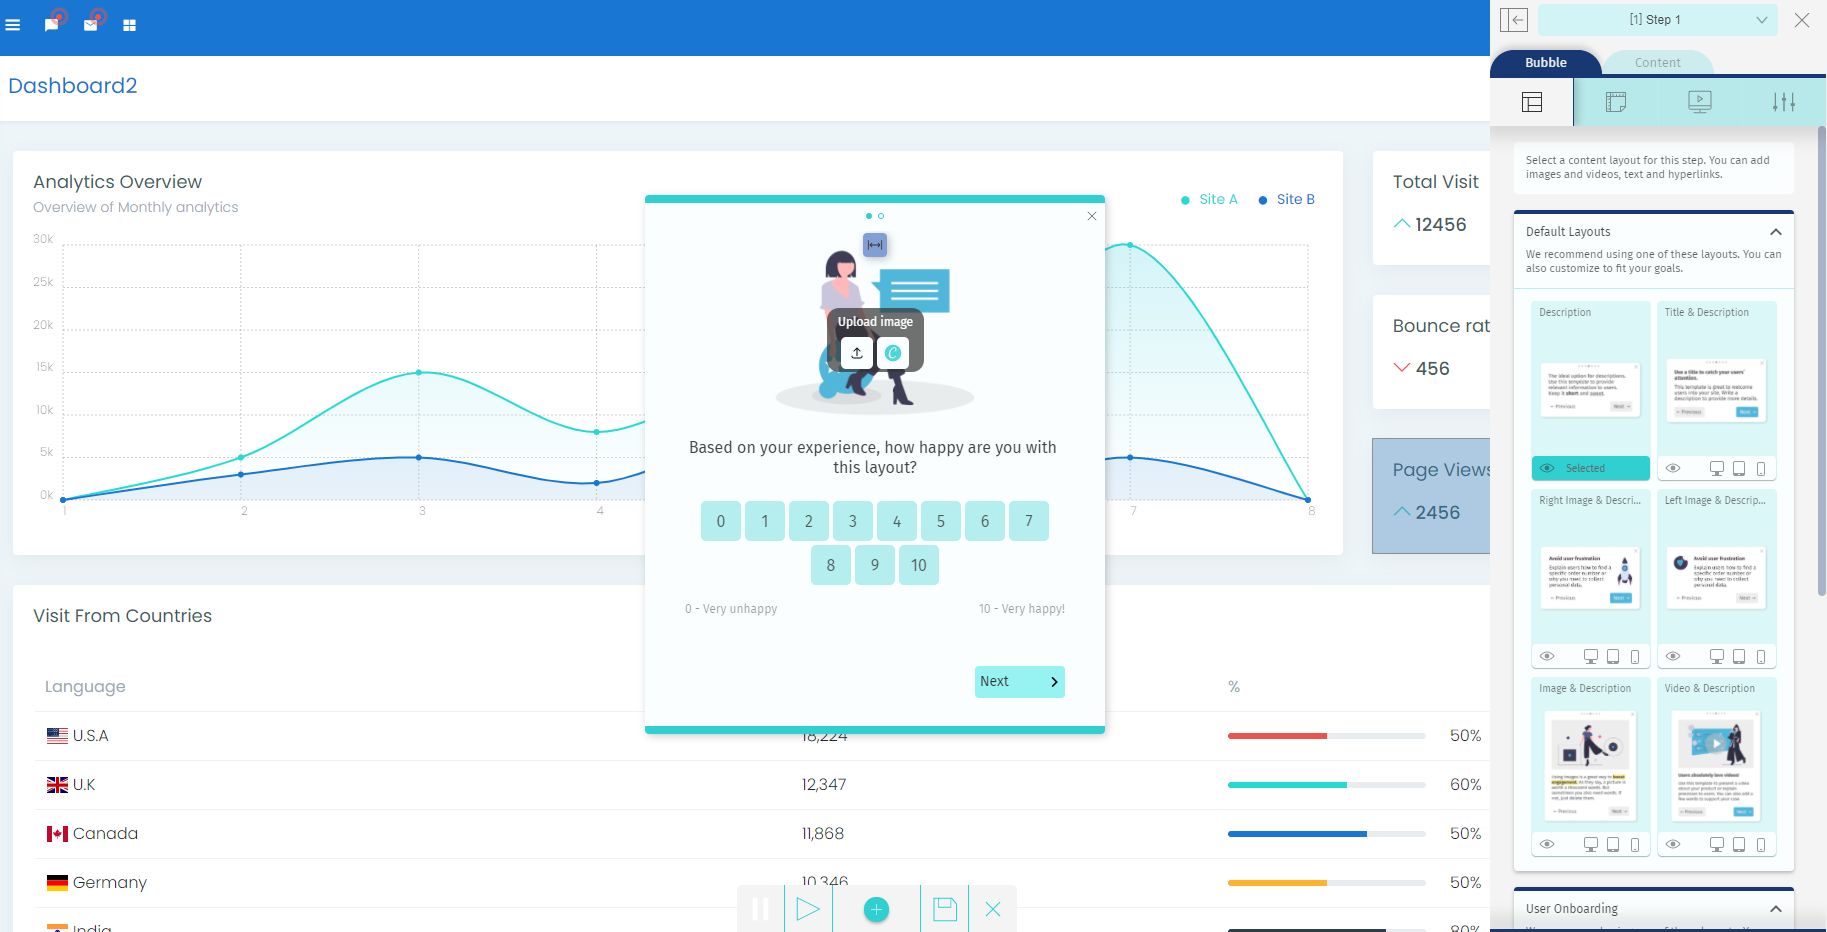
3.1 — Applying colors to each block
To change the appearance of your NPS survey click on the block that you want to customize.
After selecting the block, a tab with its specific name will appear in the sidebar. It can be Footer, Content, NPS, Header, Image, or Navigation.
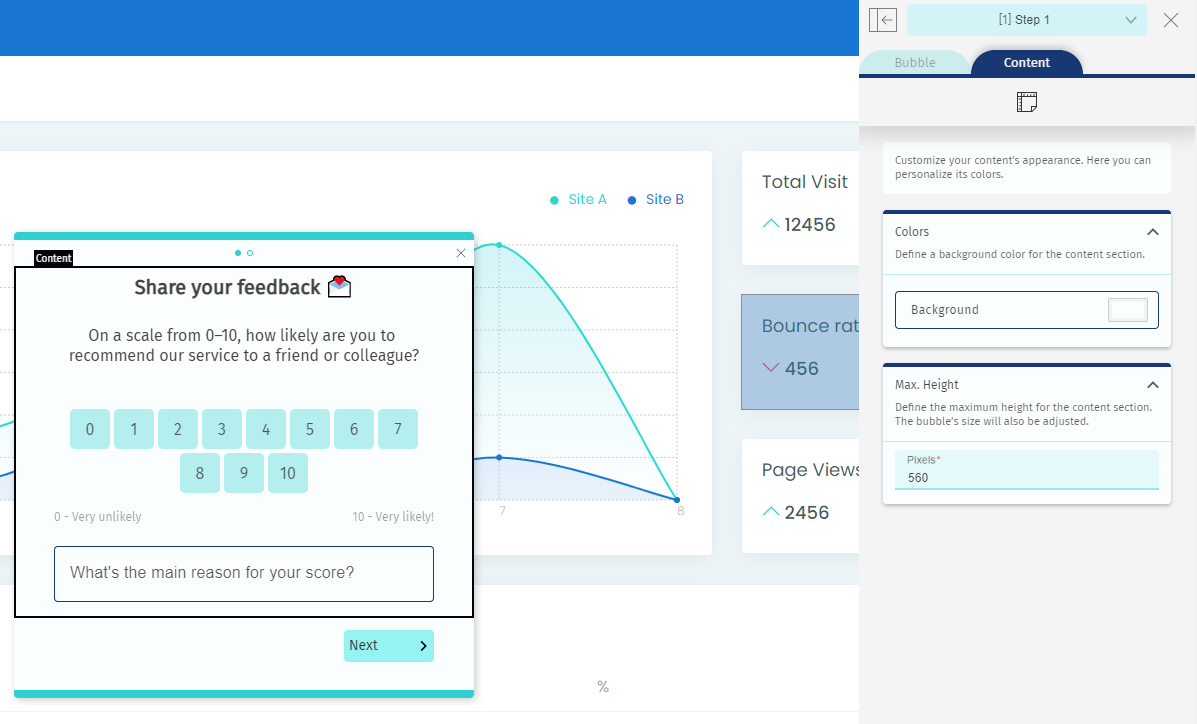
In the content block options, for example, you can choose a color from our pallet or add a HEX code. You can also define the height of your NPS survey.
Each block has different customization options depending on what they present.
To completely customize your NPS survey, repeat these steps:
1) Select block;
2) Click on the sidebar tab;
3) Customize available options.
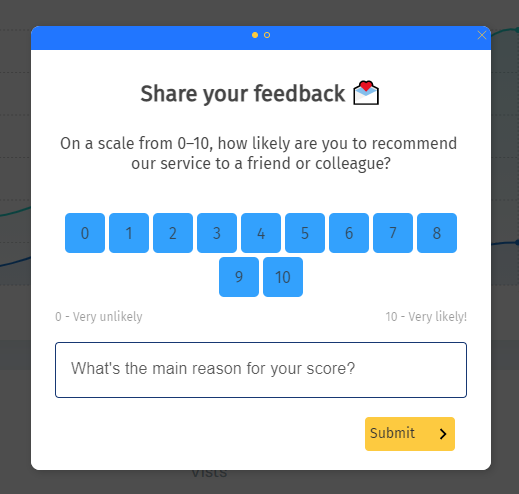
Here’s how my NPS looks after a brand new paint job:
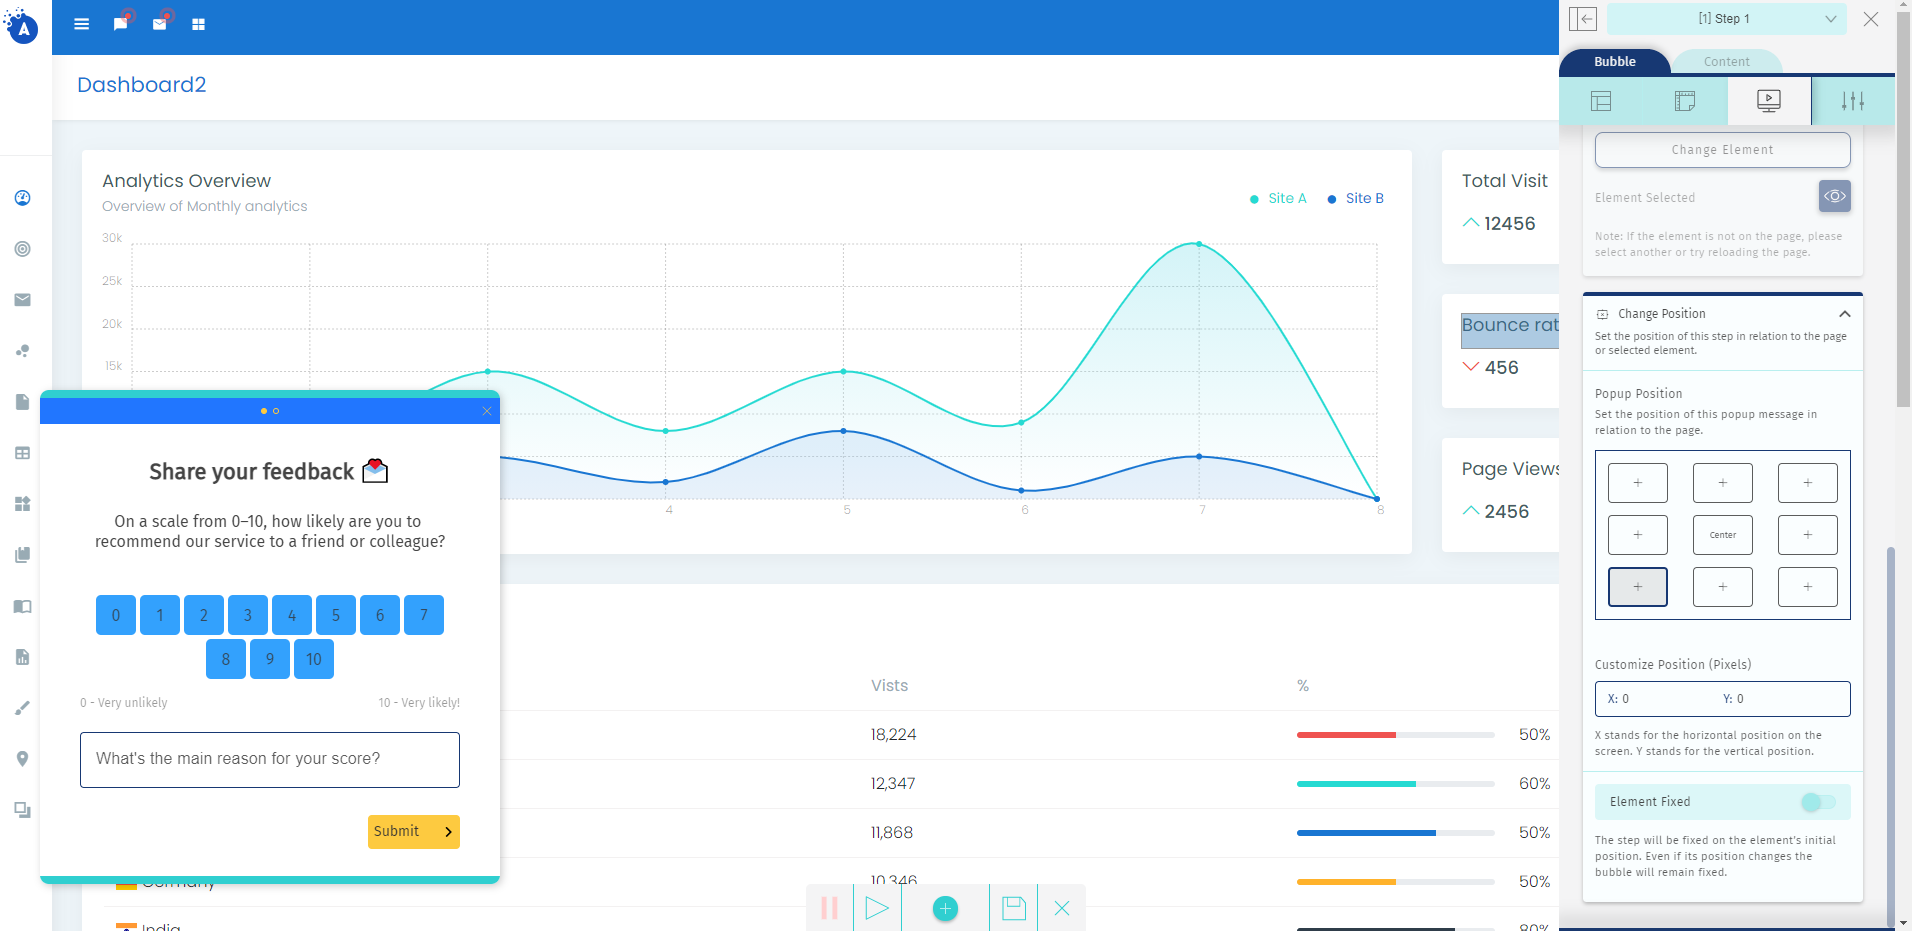
3.2 — Changing the NPS position
By default, your NPS will appear in the center of the screen. But with a few clicks, you can move it to different places on your page.
To change the position go to the “Bubble” tab and click on the 3rd icon — in your sidebar.
Then you need to select the position you want. After selected, your NPS position will change automatically in preview mode. Like magic!
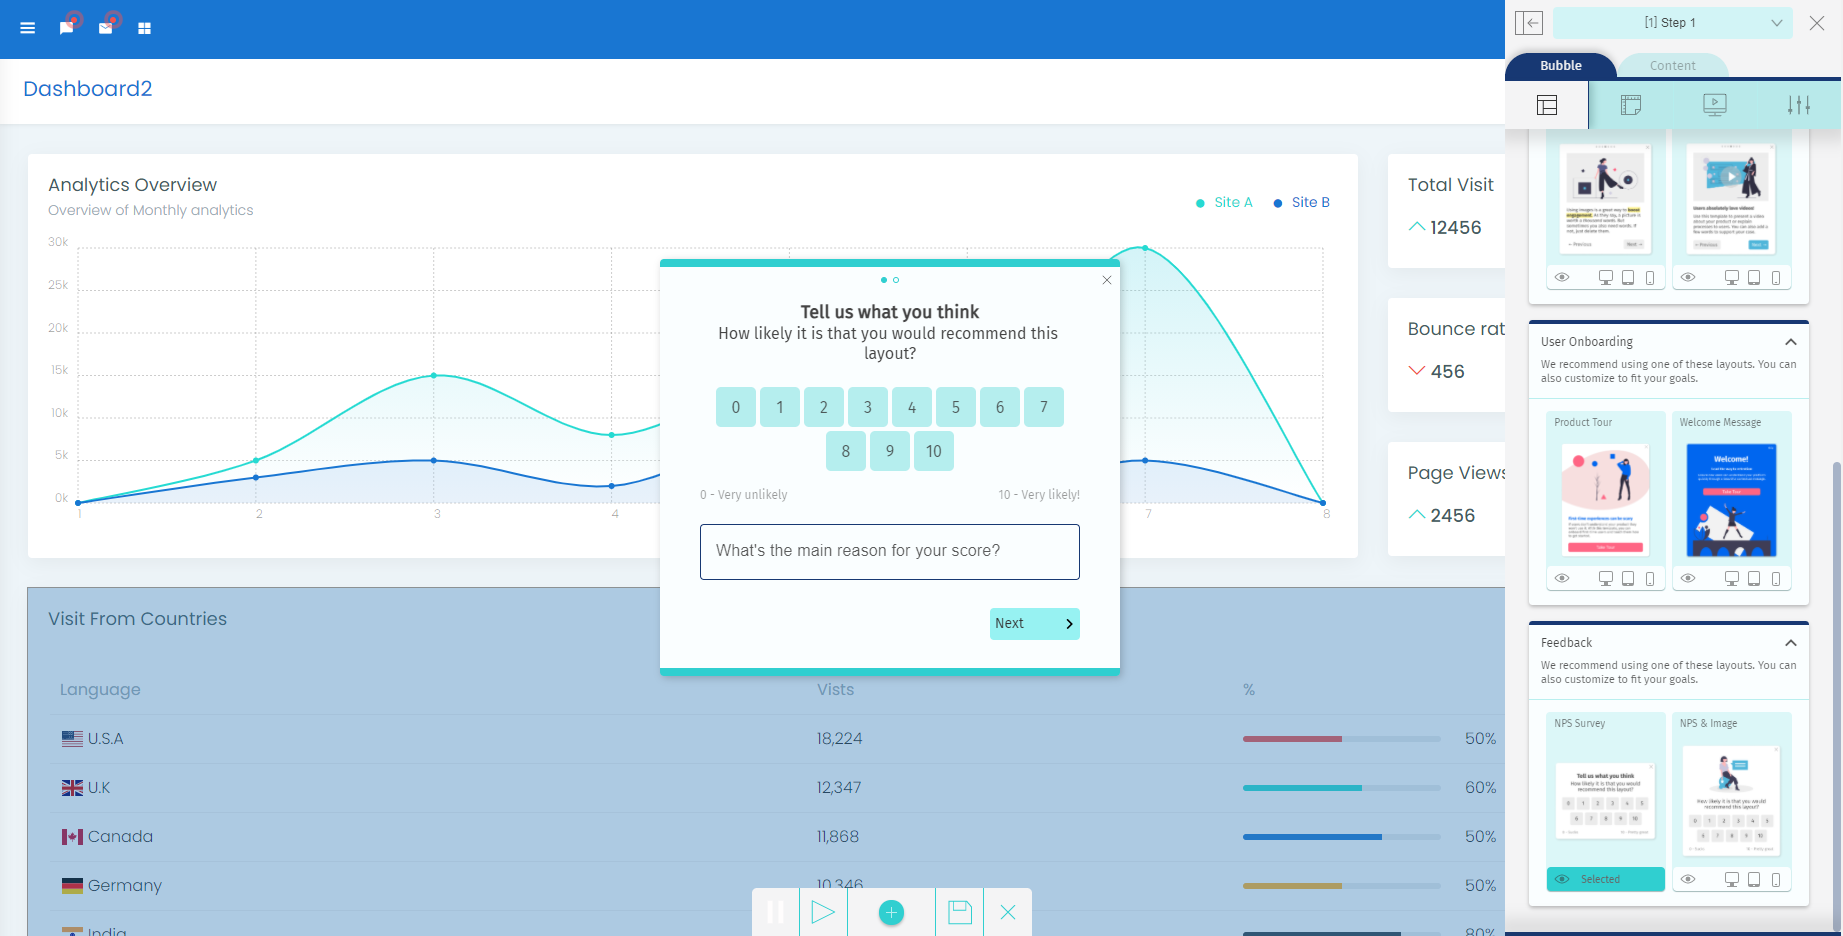
3.3 — Making Feedback required
If you want your customers to leave a comment, you can make the feedback field required. And it’s very simple!
Click on the score block and then go to the tab “NPS” in your sidebar. There you can change your Feedback question and enable the option “Required field”.

This way, users have to leave a comment about the score they provided for your website or product. Remember, the more feedback you get from your NPS the more improvements you can make later on. 😉
3.4 — Adding “Thank you” message
By default when you create an NPS survey, we provide a “Thank you” message that appears as a second step. After users submit their answers.
To customize this message go to your Helppier sidebar and select “Step 2” in the top dropdown menu.
The default message looks like this:
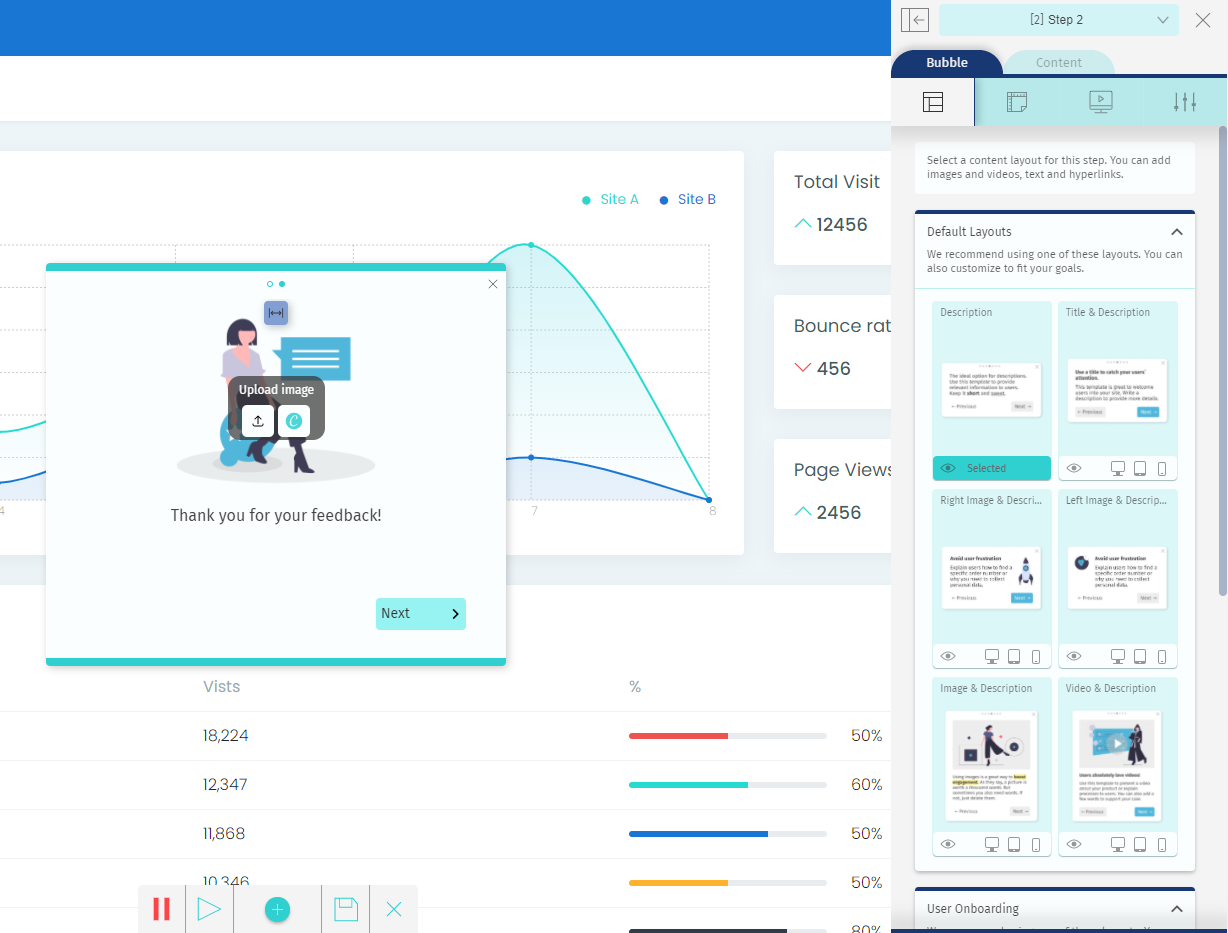
To customize the appearance, click on the block that you want. Then, interact with the sidebar options.
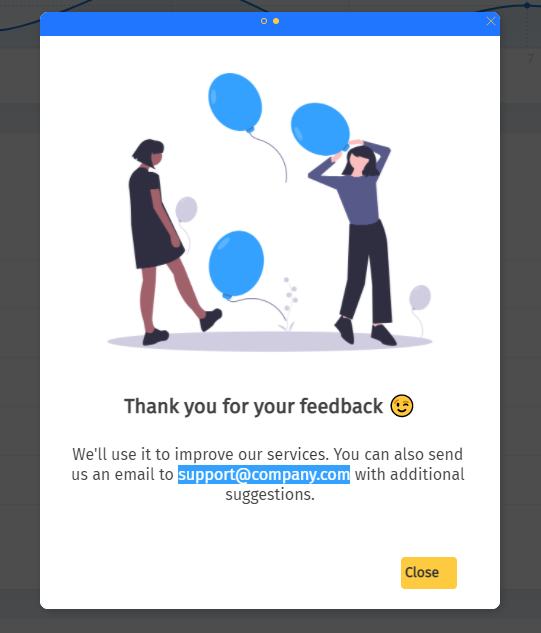
Here’s how my message looks after getting some bling:
4 — Targeting & publishing your NPS
After pimping your NPS with beautiful colors and images, you will want users to see it right? Then, it’s time to publish.
When you save and close your NPS, you will see the step list in Helppier’s sidebar. Click on the edit option in the “Target & Publish” card.
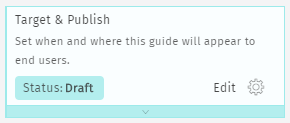
There you can define your NPS to start automatically with Start Actions and Autoplay.
Your NPS can start, for example, when users click/mouseover an element of your page or when they enter a specific URL. You can also define the frequency that your NPS will appear to users.
Pretty cool right?
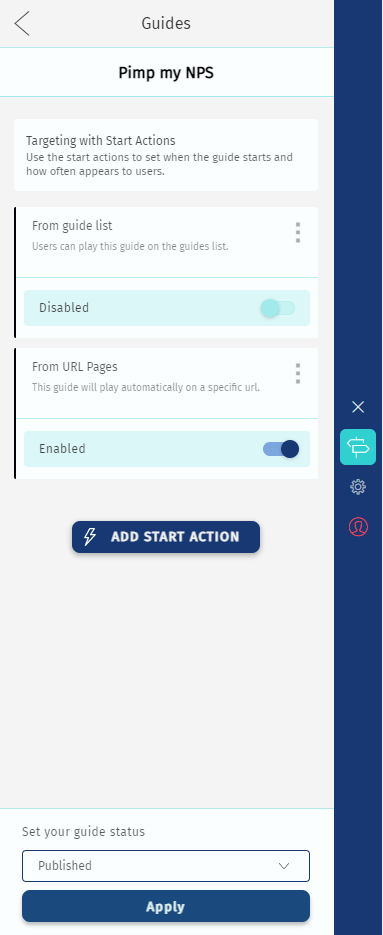
After you define your frequency and autoplay, select the option “Published”.
And voila! Your NPS has been pimped and published.
5 — Analyzing user feedback
After publishing your survey, you can check the feedback collected in your dashboard. Along with total views and users.
With our NPS Survey tool, you can get all the feedback you need to improve your business. Without any help from developers or designers. Ok, maybe designers so you don’t end up with a few designs like Pimp my Ride.
Thank you so much for reading and I hope this article inspired you to get more feedback from customers. In a cool way. 😎
If you want to read more about customer experience follow us on Facebook and Twitter to get updated.
If you’re looking for a tool to create surveys, in-app messages, and user guides visit our website. 💻